

Re-Surfx® DIY Kit: Bring Professional Strength Home
Restore, renew, and protect your deck, dock, or patio with the same high-performance system our certified installers use—now packaged for DIY homeowners. Designed to endure extreme weather conditions, this all-in-one kit makes it easy to achieve professional-grade results without costly replacement.

Re-Surfx® DIY Kit
½ Gallon Primer – prepares the surface for maximum adhesion
1 Gallon Resin – the backbone of the coating system
1 Bag Aggregate (12 lbs.) – slip-resistant strength and texture
½ Gallon Clear UV Coat – long-lasting protection against sun and weather
$399 per kit
Weight: 46 lbs
Dimensions: 12" x 12" x 12"For bulk pricing, call us at 877-589-5020.
Each kit covers between 120–200 sq. ft. depending on surface condition. 1 kit covers ~150 sq. ft. on average. Simply divide your total square footage by 150 to estimate how many kits (and stain gallons) you’ll need.
What You’ll Need to Add:1 gallon of any solid-color water-based exterior stain (not included)
What’s Included in the Kit:
Coverage Guide
-
![]()
Example: A 240 sq. ft. dock will require 2–3 kits and the same number of stain gallons, depending on wood condition.
-
![]()
Example: A 300 sq. ft. wood patio in fair condition will require 2 kits and 2 gallons of stain.
-
![]()
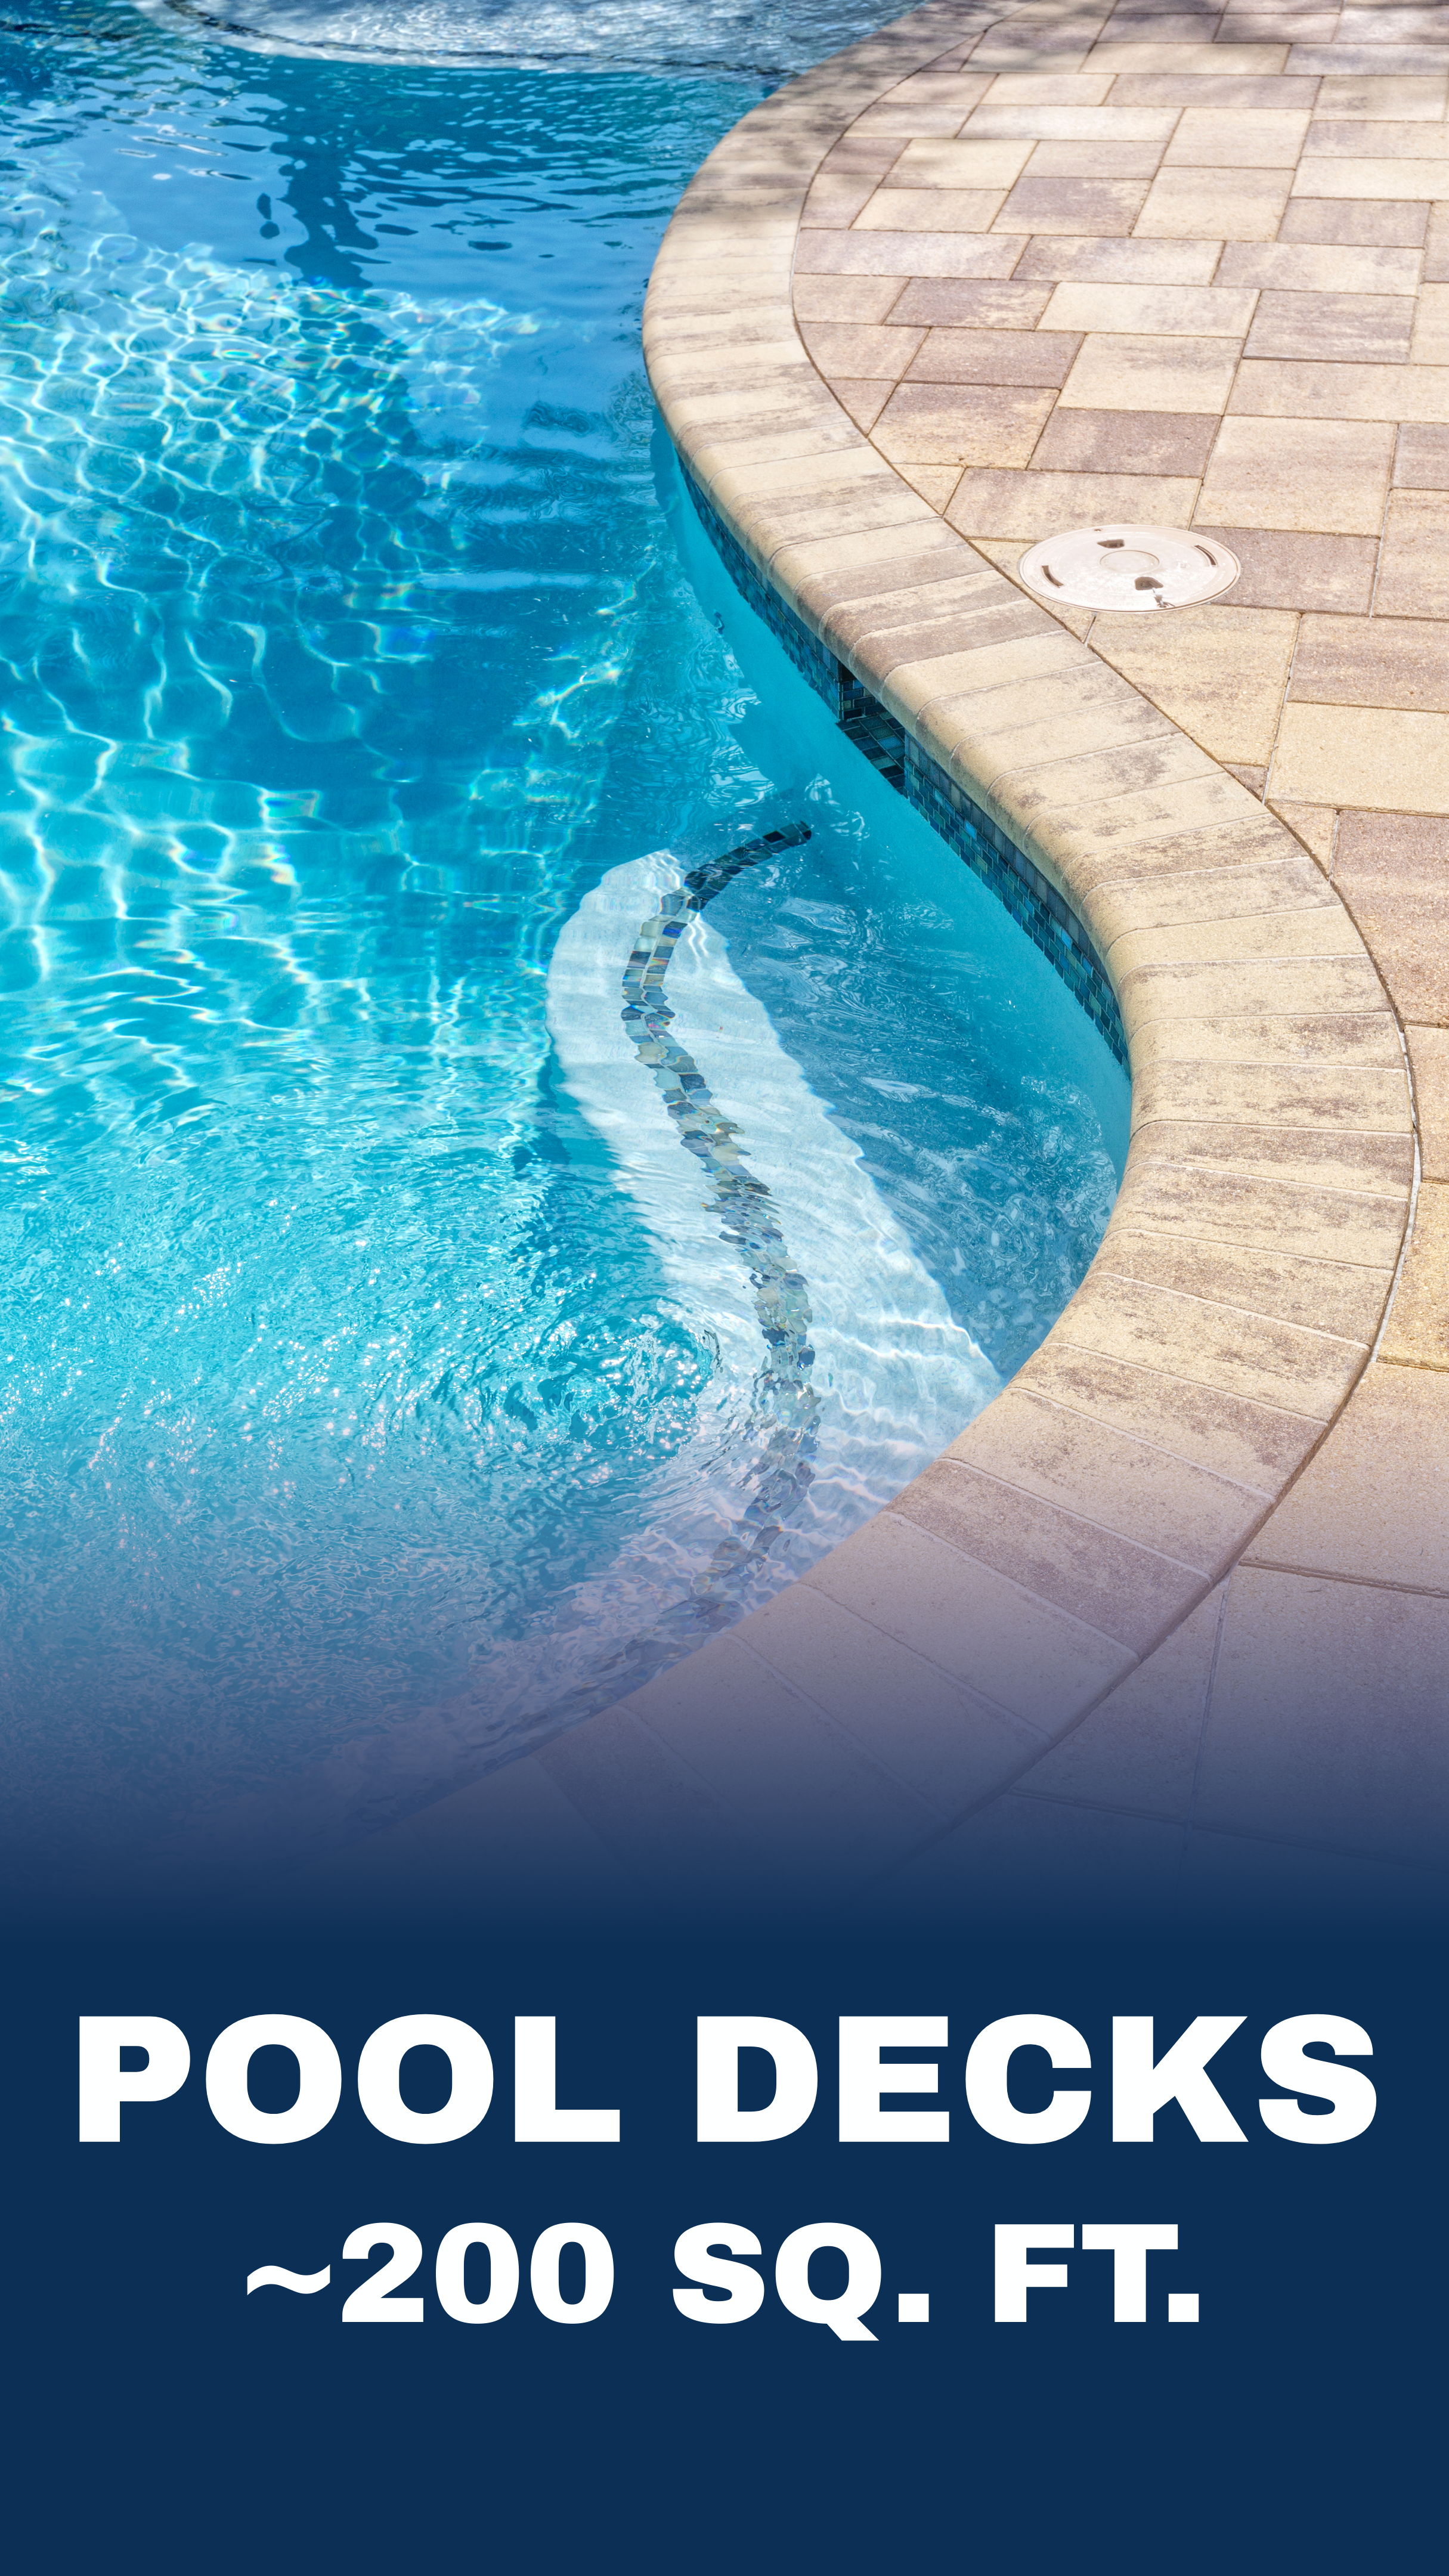
Example: A 400 sq. ft. pool deck will require 2 kits and 2 gallons of stain.
-
![]()
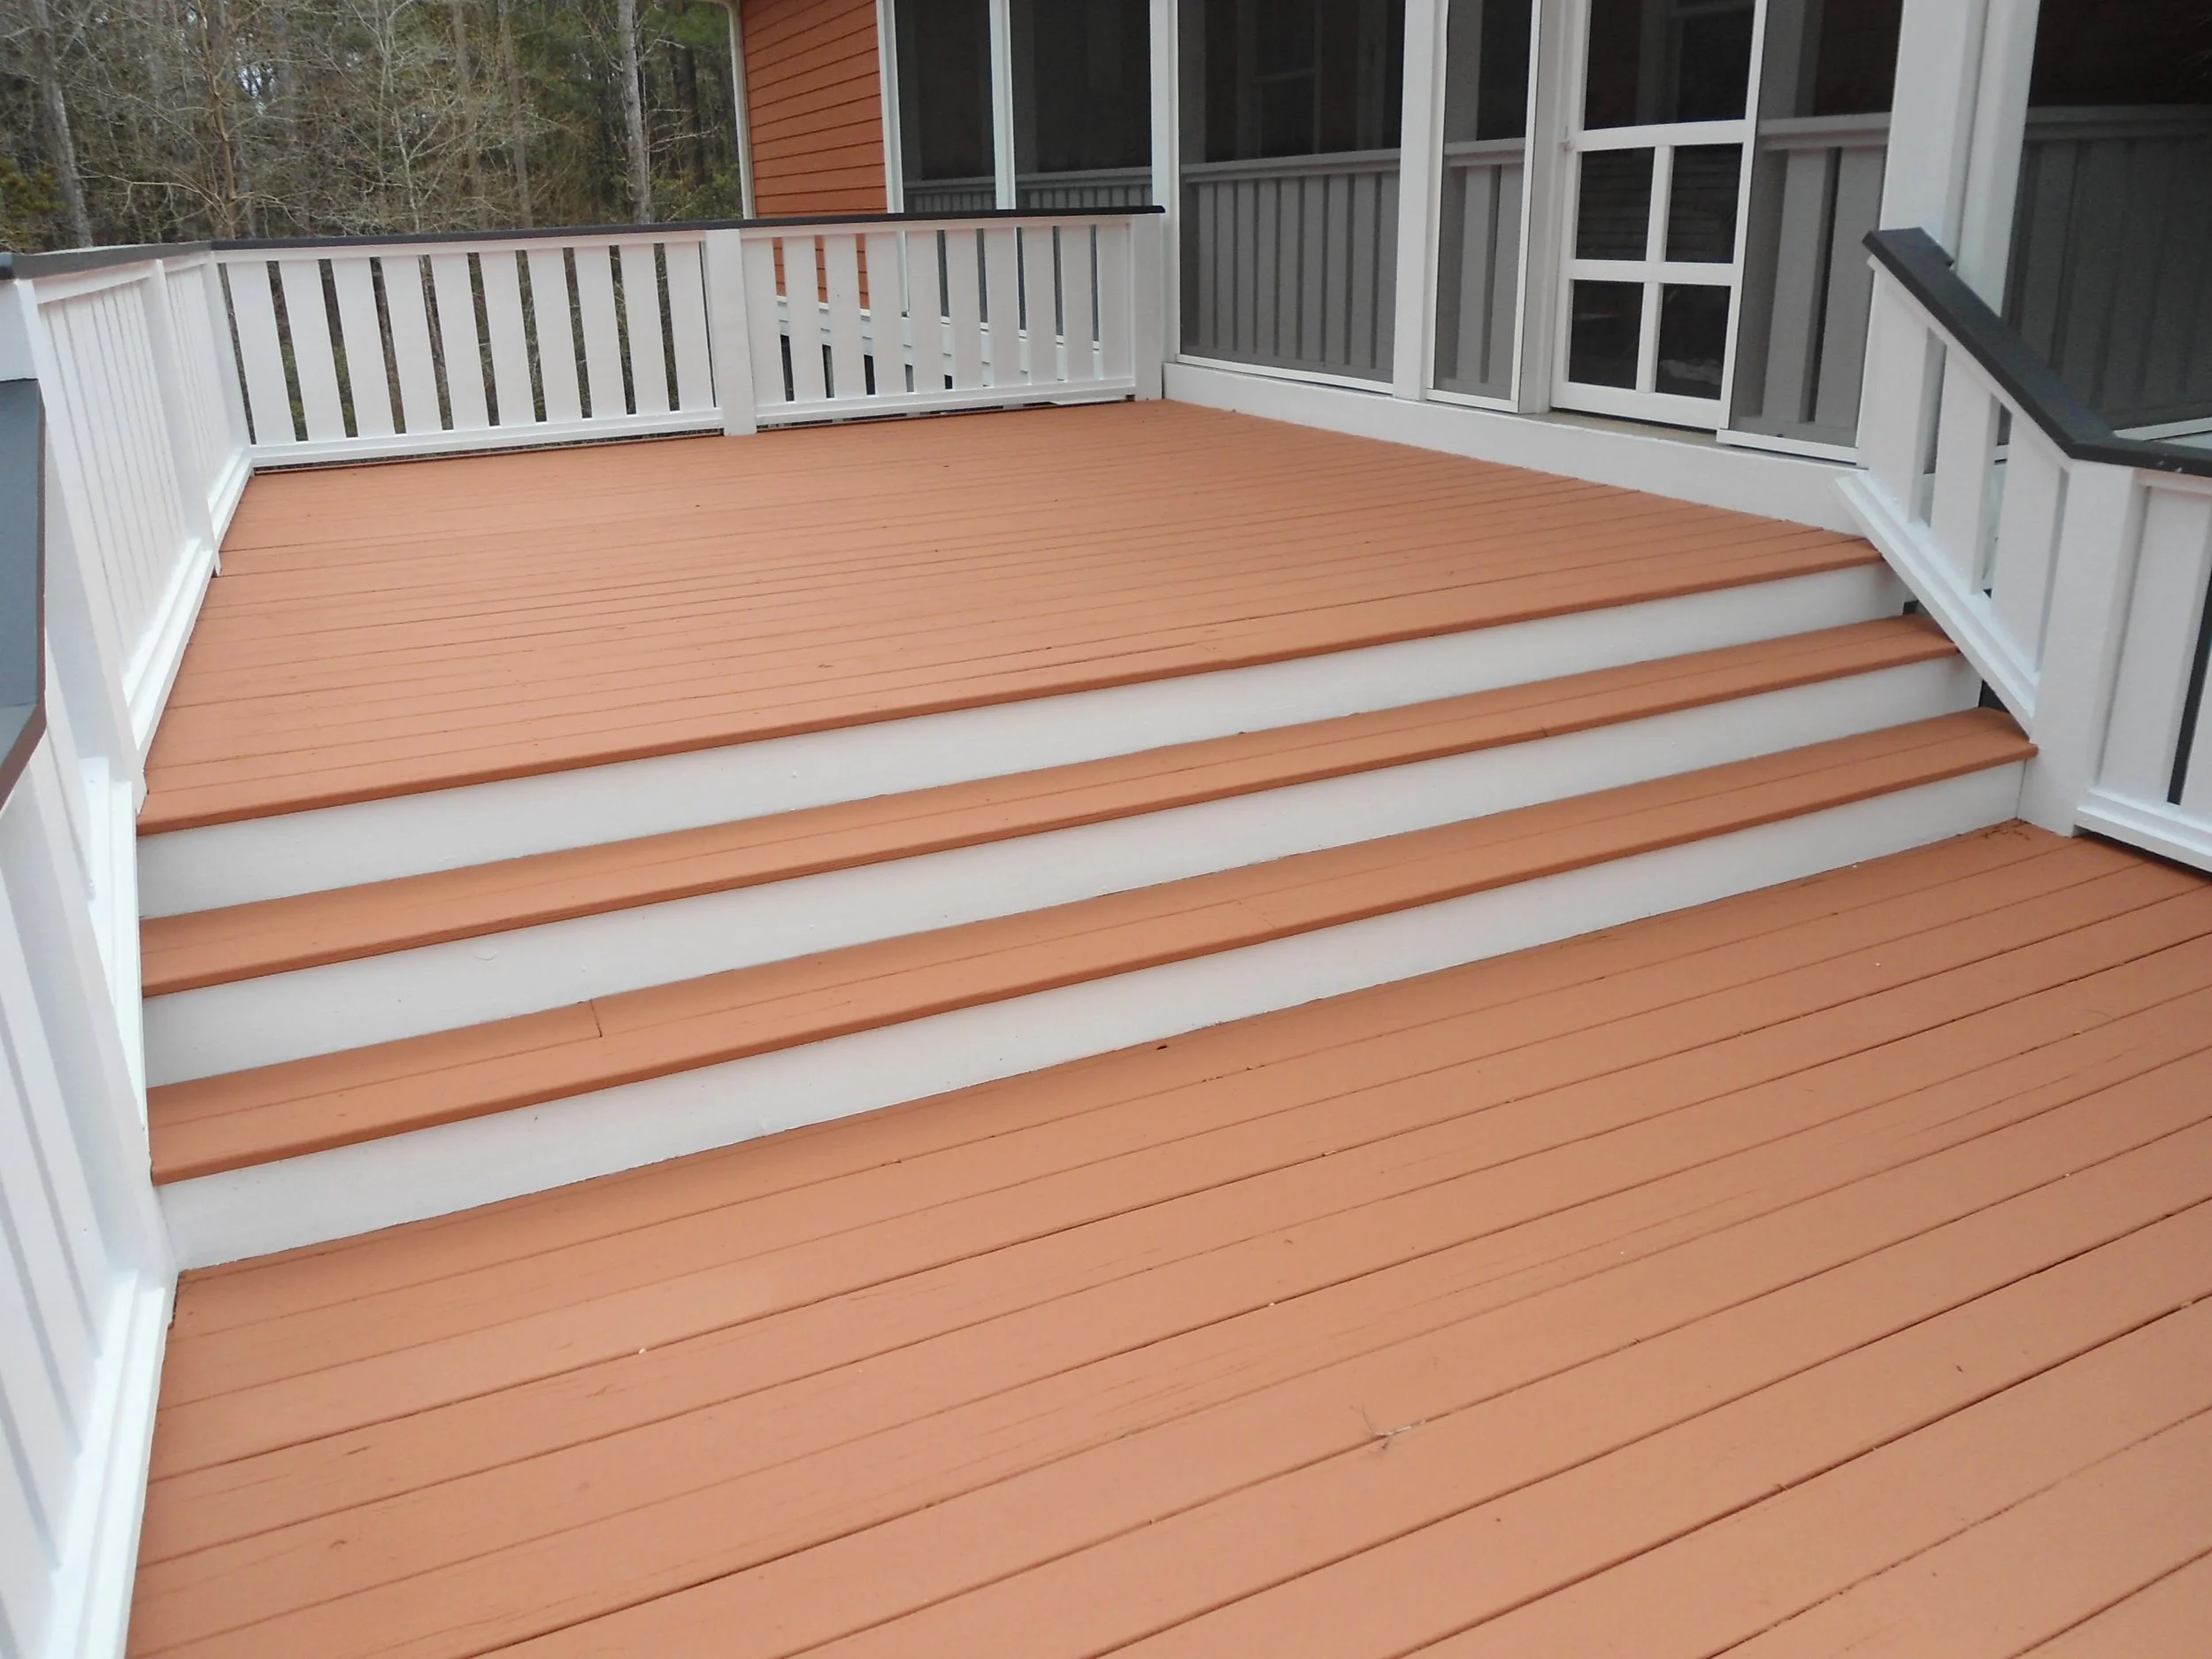
Example: A 300 sq. ft. backyard deck in fair condition will require 2 kits and 2 gallons of stain.


Why Choose the Re-Surfx® DIY Kit?
-
Durable, slip-resistant finish
Weatherproof protection for all climates (heat, cold, and moisture)
Extends the life of wood, concrete, and more
-
Saves homeowners and marinas thousands vs. replacement
Low-maintenance solution—no constant upkeep
Easy-to-follow instructions for DIY success
-
Slip-resistant surface for families, pools, and marinas
Non-toxic, VOC-free, and environmentally safe coatings
-
Works on both wood and concrete surfaces
Designed for real life—from pool decks to marinas
-


How to Apply Re-Surfx
-
Before You Start
Ensure wood is clean, dry, and free of debris.
Moisture content should be 15% or below (check with a moisture meter).
Ideal application temperature: 50–80°F.
Step 1 – Prime the Surface
Apply Re-Surfx® Primer evenly to clean, dry wood using a sprayer or 3/8" roller.
Allow to set for 10–15 minutes before moving to the next step.
Step 2 – Mix Resin & Stain
In a 5-gallon bucket combine:
1 gallon of water-based solid color exterior stain (recommended: SuperDeck® Solid Stain)
1 gallon of Re-Surfx® Resin
Mix with a high-speed paddle mixer for 30 seconds.
Step 3 – Add Aggregate
Slowly add 1 full bag of aggregate while continuing to mix.
Once added, continue mixing for 1–2 minutes.
Scrape the sides of the bucket to ensure all white particles are fully blended.
Mixture should be thin, smooth, and easy to apply.
Step 4 – Apply First Coat
Using a 1 1/4" nap roller (brush for edges and cracks if needed), apply the mixture to the surface.
Make sure all cracks and voids are filled on the first coat.
Step 5 – Apply Second Coat
Once the first coat is dry to the touch, apply a second coat using the same method.
Coverage will typically be greater on the second coat.
Step 6 – Seal With UV Protection
Finish with a thin layer of Re-Surfx® Clear UV Coating using a sprayer or 3/8" roller.
Curing
Allow 2–3 days for full curing.
Keep furniture, pets, plants, and foot traffic off the surface until completely cured.
CLICK HERE- Printable Step-by-Step Instructions
-
Before You Start
Surface must be clean, dry, and free of grease, oils, or debris.
Ideal application temperature: 50–80°F.
Make sure the concrete is dry to the touch before priming.
Step 1 – Prime the Surface
Apply Re-Surfx® Primer evenly to the clean, dry concrete surface.
Allow primer to set until dry to the touch.
Step 2 – Mix Resin & Stain
In a clean 5-gallon bucket, combine:
2 gallons of water-based solid color concrete stain (recommended: H&C Heavy Shield or equivalent)
1 gallon of Re-Surfx® Resin
Mix thoroughly with a high-speed paddle mixer for 30 seconds.
Step 3 – Add Aggregate
Slowly add 1 bag of aggregate while mixing.
After all aggregate is added, continue mixing for 1–2 minutes.
Scrape bucket sides to ensure all white particles are blended.
Mixture should be thin, smooth, and easy to apply.
Step 4 – Apply First Coat
Apply using a 1/2" nap roller (brush may be used for edges or tight areas).
Make sure all cracks and voids are filled on the first coat.
Step 5 – Apply Second Coat
Once the first coat is dry to the touch, apply a second coat using the same method.
Coverage is typically greater on the second coat.
Step 6 – Seal With UV Protection
Finish with a thin layer of Re-Surfx® Clear UV Sealer using a 3/8" nap roller.
Curing
Allow 2–3 days for full curing.
Keep furniture, pets, plants, and foot traffic off the surface until fully cured.
CLICK HERE- Printable Step-by-Step Instructions